
How To Enable And Manage User Reviews In Your Strapi Application
Enable User Reviews in a Strapi application and display them in the frontend with React
Outline
- Introduction
- Prerequisites
- What is Strapi Ratings?
- Installation
- Configuration
- Display user reviews on the frontend
- Plugin settings
- Manage user reviews
- Full source code of the frontend
- Conclusion
Introduction
Ratings systems have become a crucial part of any website with ecommerce capabilites, as they allow the users to post reviews on the items they purchase and publish their opinion to the public. A couple of reviews can make the difference between pressing the “Buy” button and moving on to the next website in the Google search results.
In this article, I’ll show you how to enable and manage user reviews for your content very easily using the Ratings plugin, and display them in your frontend application.
Prerequisites
First of all, you need to have a basic understanding of the following.
- Basic knowledge of JavaScript
- Basic knowledge of React (OPTIONAL)
- Basic understanding of Strapi - get started here.
- Your Strapi V4 project setup
What is Strapi Ratings?
Strapi Ratings is a plugin that gives your Strapi application the ability to manage ratings for pretty much any kind of content. It allows your users to post reviews and anyone can get the reviews associated with a given slug.
With this plugin, admin users can view and manage very easily all the reviews from the Strapi administration dashboard. Within the dashboard, you will be able to see reviews related to content slugs as well as delete reviews.
Installation
Once into the Strapi project root, you can install the plugin by running the following command:
npm install strapi-plugin-ratings
Next, build the project to see the new plugin in the dashboard with the following command:
npm run build
And that’s it! If everything runs correctly, the plugin should now be installed.
Configuration
Now you need to enable some permissions so that the frontend can access the endpoints to post and fetch reviews.
In your Strapi admin dashboard, head over to Settings, then over to Roles under Users & Permissions Plugin.
Let’s first setup the Public API; click on Public and hit the dropdown button of Ratings. Now check count, find, getPageSize and getStats, then hit the Save button. Below is a screenshot of a proper configuration:

Now let’s setup the Authenticated API. Go back to Roles and click on Authenticated. Open the dropdown for Ratings and mark as checked the options create, find and getUserReview. Below is a screenshot of a proper configuration:

With this configuration, the frontend should now be able to make requests to get and post user reviews.
Display use reviews on the frontend
The plugin exposes an API to get and post reviews if you want to have fine-grained control over the workflow of your ratings system and you can check the documentation on the package page, but this plugin also comes with a purpose-built React component library that makes it super easy to get up and running without getting your hands dirty.
This components library is called strapi-ratings-client, fully supports typescript and it takes care of all the complexity of fetching and posting user reviews for every content ID that you pass to it.
Installation of Strapi Ratings Client
You will need to have installed react ^17.0.2, react-dom ^17.0.2, bootstrap ^5.1.3 and @popperjs/core^2.11.2
Inside of your React project, run this command:
npm install strapi-ratings-client --save
Usage of Strapi Ratings Client
Using this library is very easy!
This library exports three main components:
- ReviewsProvider
- Reviews
- ReviewForm
And you can import them this way:
import {
  ReviewsProvider,
  Reviews,
  ReviewForm
} from "strapi-ratings-client"
All you have to do is wrap your App component into the ReviewsProvider component. Then you will be able to place anywhere in your app the Reviews component to render a list of user reviews for a given content ID and the ReviewForm component to render a form to allow your users to post reviews.
For example, this could be your index.js or main.js file:
import React from 'react'
import ReactDOM from 'react-dom'

// The address of your strapi backend instance
const STRAPI = "http://localhost:1337"

ReactDOM.render(
  <React.StrictMode>
    <ReviewsProvider apiURL={STRAPI}>
      <App />
    </ReviewsProvider>
  </React.StrictMode>,
  document.getElementById('root')
)
Where apiURL is the URL of your running Strapi application, and this property is required.
This way, the ratings provider will do all the magic of fetching and posting comments for you!
This library also exports an utility React.Context to update some of the parameters for fetching and posting reviews:
import { ReviewsConfigContext } from "strapi-ratings-client"
This ReviewsConfigContext exposes three setter functions: setUser, setContentID and setCanPostReview.
With setContentID you can load the ratings for a given content and post reviews to it. It receives a single parameter of type string and must be URLized, i.e. no spaces.
With setUser you can set the credentials of a given user to authorize the posting of reviews. It receives a single parameter of type IUser, with the following Typescript interface:
interface IUser {
  username: string,
  email: string,
  id: string,
  token: string // This is a JWT
}
With setCanPostReview, you can enable the user to post a review on the given content. This is useful for when you only allow a user to post a review after they purchase the product.
It’s a little confusing but we’ll see how to use it in a component:
const App = () => {
  const { setUser, setContentID, setCanPostReview } = useContext(ReviewsConfigContext)
  // The following data should come from Strapi Users and Permissions Plugin
  // for authenticated requests.
  const user = {
    username: "John Doe",
    email: "jhohndoe@gmail.com",
    id: 5,
    token: "this_should_be_a_JWT"
  }
  if (user) {
    setUser(user)
  }
  setContentID("sample-content-1") // Load reviews for this content
  setCanPostReview(true) // Allow this user to post a review
  return (
    <>
      {
        !user && <Login />
      }
      <ReviewForm />
      <Reviews />
    </>
  )
}
And that’s it!
After setting the content ID through setContentID, ReviewsProvider will start loading the reviews for the given content ID and the ReviewForm will render an input to post a user review related to the given content ID if there is a user and he’s allowed to post a review. Otherwise, it will display the message Login to post a review or nothing at all if the user is not allowed to post a review.
Here’s how the interface looks like so far:

This library exports one more component: ErrorBox
import { ErrorBox } from "strapi-ratings-client"
.It’s useful for when you’d like to display error messages when things go wrong fetching or posting reviews.
You can place this component wherever you want, for example in between the ReviewForm and the Reviews components.
If you’re wondering how this error box looks like, here‘s a screenshot:

General settings
You can customize the page size, i.e. specify how many user reviews are showed at once.
In the Strapi admin panel, head over to Settings, then select Pagination under Ratings Plugin.
Here you’ll find an input to set the page size, which defaults to 10.

Manage reviews
Once you’ve got the plugin up an running, as users start to post reviews, you can view them from within the Ratings section of the left sidebar in the Strapi admin dashboard.
Here you can see two tabs: one for the latest reviews and one for reviews grouped by content ID.


In both of them you can delete unwanted reviews.
Example project
You can find a full working example of a React App using the Strapi Ratings Client Library in this repo: https://github.com/luisguve/strapi-ratings-client-example
Conclusion
With this plugin you can enable and manage user reviews for any content with little effort and even use a library of components styled with Bootstrap to display the user reviews in your frontend.
And that’s it! The features are pretty basic at the moment but if there’s interest, I’m willing to work on more features as well as improve the UI/UX.

My name is
Luis G. Villegas
You May Also Like

How I Built A SaaS On Top Of Strapi, And Why You Should Too
In this post I’m going to share my experience on building a SaaS using …

Strapi Plugin Ratings
Ratings is a Strapi plugin that allows your users to post reviews. …
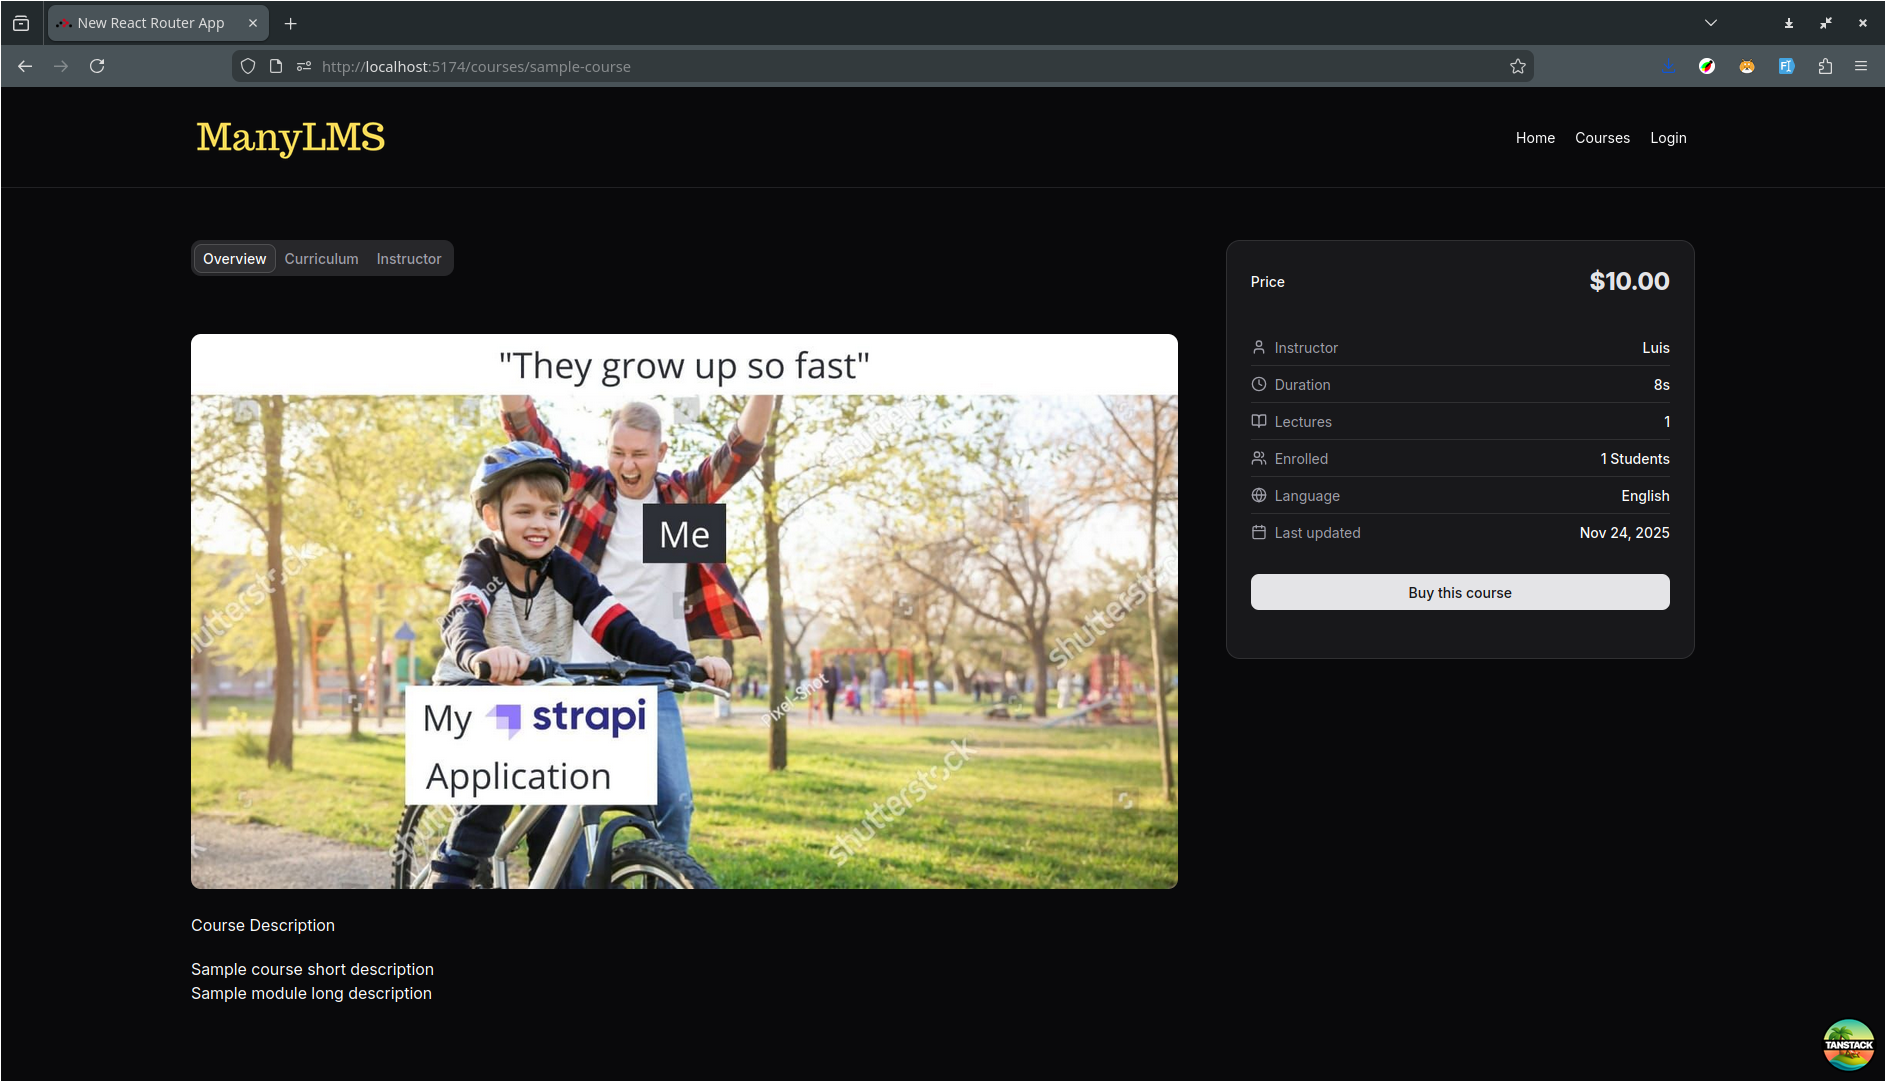
ManyLMS: E-Learning platform
ManyLMS is an e-learning platform built on top of Strapi, React Router …